Purchase The Gift of Adventure

Looking for something unique this holiday season to give is a gift?Happy Holidays
Apex offers the gift of adventure through gift certificates.  Climbers can choose their own adventure during a time that pleases them.

Share an Adventure with us this holiday season by calling 608-434-3360.

Happy Holidays from Lynn and Jill and the rest of the Apex Crew!
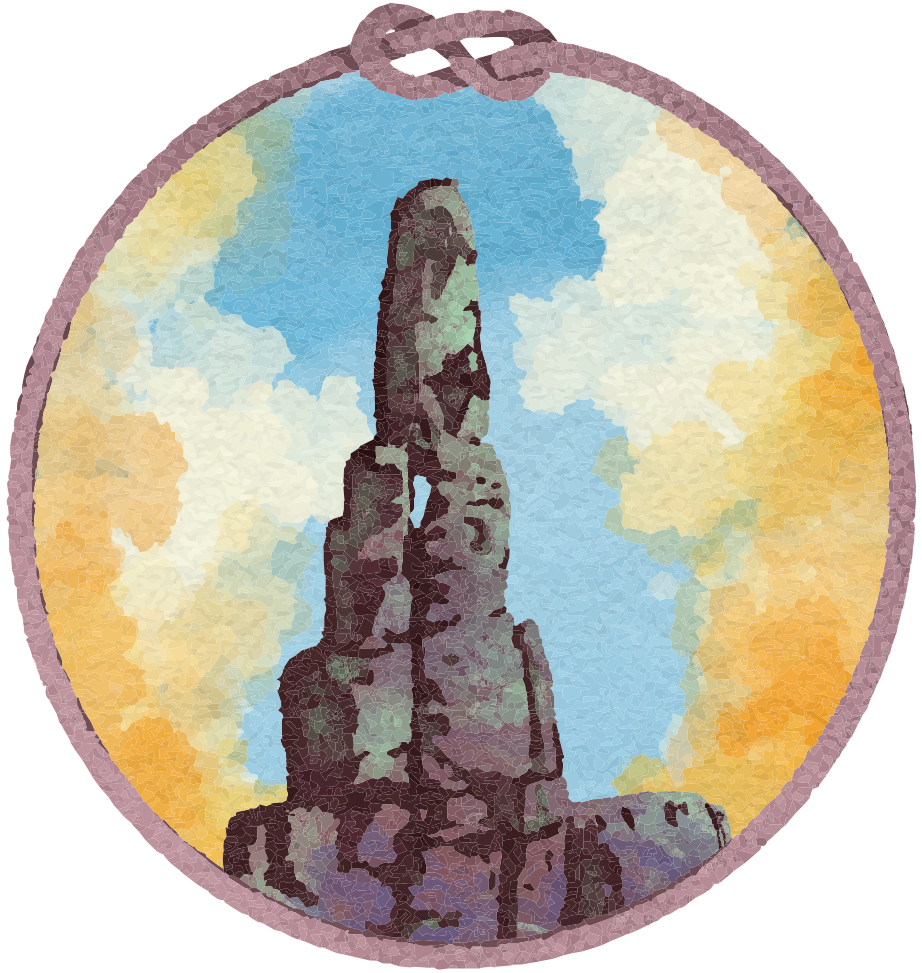
 

A Day Out Climbing with Apex

  • 10696338_10153375510403695_2782899309964598110_nBy Guest Blogger: Marcie Waters

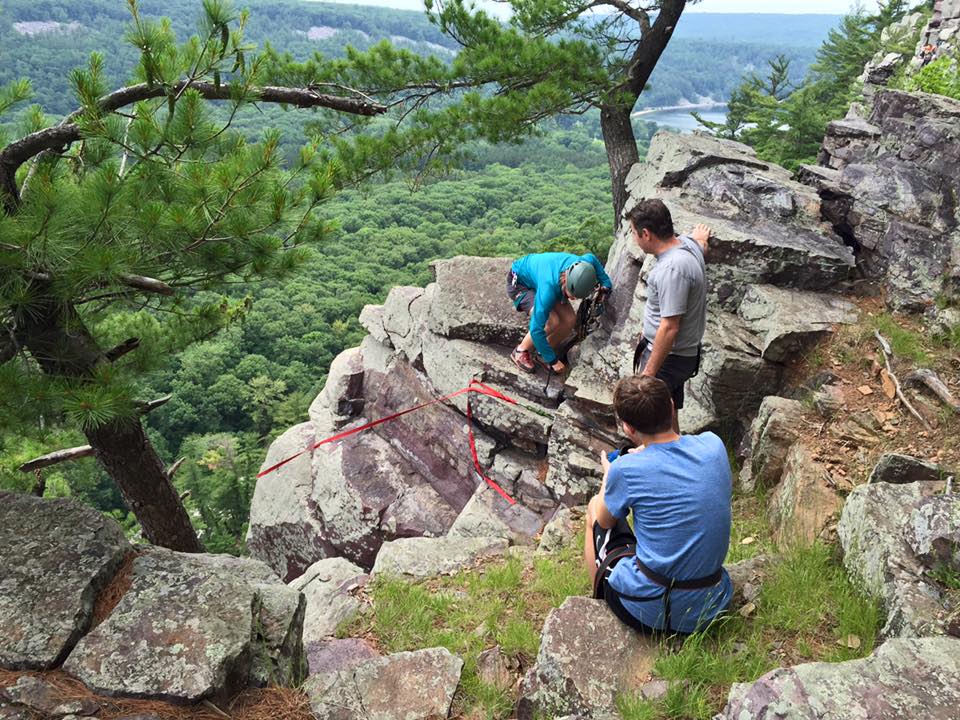
This summer, my friend Marissa and I decided to try out rock climbing with an Open Group Climb with Apex. At first, it seemed we were doomed to bad luck, as it began raining as soon as we arrived to the parking lot meeting point at Devil’s Lake State Park. We met our guide for the day, Jill, who distributed gear and made sure it fit us correctly, and the rest of our group, who included a family of rock climbing enthusiasts. We sat in our cars for a bit, waiting the rain out, until we decided it was clear enough to go climbing.

We went on a short but steep hike up to the bluffs where Jill had laid out four climbing routes for us to try. On our way up, she explained some background info about the unique nature at Devil’s Lake. When we arrived at the bluffs, Jill made sure we had our gear on properly, taught us how to tie into the ropes, and explained how to belay. Then we were off!

The rock had dried out quickly and didn’t pose a problem for climbing. Marissa climbed first, and I belayed her; then we switched off. Climbing was much harder than I thought it would be, and I had not realized how much of climbing is mental. This challenge just made it even more fun and rewarding when I climbed higher and higher. The day was spent switching between different routes and between climbing and belaying. Belaying might not sound as fun as climbing, but I did enjoy watching Marissa climb, helping her find holds in the rocks that she couldn’t see from her vantage point, and cheering her on. With Jill providing helpful tips and encouragement the whole time, climbing was really a group activity.

We ended the day by following Jill up to the top of the bluffs to learn about how the ropes had been set up for the climb and how to take them down before heading down towards the parking lot. Marissa and I enjoyed our first climbing experience and can’t imagine a better place to have done it than at Devil’s Lake with Apex!11535909_10153455921741942_4761020965844571284_n

A DAY OUT CLIMBING WITH APEX

Best Climbing Gear to Top Rope Devil’s Lake

We get A LOT of questions about what gear is best to start out when you want to start to build a climbing gear rack to Top Rope at Devil’s Lake.  Since much of our clientele intends on heading on out to our local crag, Devil’s Lake State Park, here is a list of our recommendations for the Best Climbing Gear to Top Rope Devil’s Lake. You’ll find that what you need depends on what you want to do, how much time are willing to devote to being creative (and safe, always #1!). If you have further questions, please email us at info@apexadventurealliance.com. Also check out our Anchors Course to learn more. 

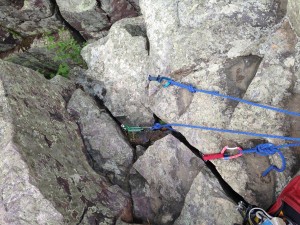
2014-05-26 12.13.21

The All-Natural Rack

Tough to get by on, but with a little creativity, possible for many climbs at Devil’s Lake. This is also gear that you will just need in general to be able to have a successful set up.

  • Cord (static), I would go with 8mm minimum.  That will give you something that lasts and the ability to build your anchors to an appropriate strength.  Find it at Adventure Rock, REI, Fontana, etc. (20-40 foot pieces)
  • Or tubular webbing. (20-40 foot pieces)
  • Locking Carabiners (two per master point)
  • Several non-locking carabiners
  • A few double length slings (2-3)
  • A Climbing Rope
If all you have is some cord or webbing, PLEASE do not be one of “those people” that bends the rules in order to “make it work.”  Only use solid features as naturals.  There are over 5,000 routes at Devil’s Lake, so don’t compromise safety just because you don’t have the right gear.

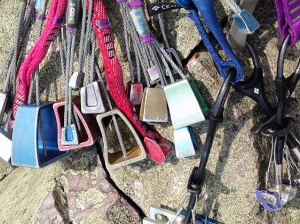
The Passive Rack – A GREAT! starting point if you are on a strict budget.nuts

  • Standard Nuts (you can get away with Black Diamond’s Classic Stopper Set or you can go with the BD Pro Stopper Set)
  • Offset Nuts.  Work in lots of spots at the lake.  Also like to get stuck. (These are awesome at Devil’s Lake!)
  • Hexes. I like using these in both a passive and active way.  The big ones are great in lots of “thread through” spots at Devil’s Lake.
  • Tricams (Red, Pink at DL or two pinks!)
  • Nut tool (Definite necessity.  You’ll probably get pretty good at using this if you put something in the cold rock in the morning and it heats up during the day).

The Cam, A Lot Rack – Do almost anything with this rack

You’ll first need the “All Natural Rack” and then you can either combo with the Passive Rack or just go ahead and cover all of your bases and buy everything.  It is fun to be a gear snob. Plan on quick set ups at Devil’s Lake with cams (as long as you have equalization and master points knots under yours belt).

  • Black Diamond Camalots are great. Easy to place.  I use .5-3 the most, favoring the .75 and 1)
  • Black Diamond’s X4 are pretty awesome with a more flexible stem.
  • Other camming devices will work just fine. All are similar with some subtle differences.  I recommend Black Diamond since I have first-hand experience with using their product.
As always, we recommend tying yourself in at the top of any climb.  The Metolius PAS 22 is great.  Also very useful for sport route cleaning.  
 

 Best Climbing Gear to Top Rope Devil’s Lake.

Kilonewton, Forces, & Rock Climbing

1 Kilonewton = 224.8 Pounds

A kilonewton is a measurement of force. It is important to understand the kilonewtons in top rope climbing

Evaluating and managing risk. We always climb with the intention of protecting ourselves and eliminating as much risk as reasonably possible. To get a sense of how much force a person can generate, we use this example: A man weighing 225 pounds who steps off a cliff generates 2,200 pounds (roughly 10 kN) of force in his fall. The belayer’s upward movement and the slack in the rope adds another 1,450 pounds. This increases the total potential weight of the climber about 3,650 pounds! Neither you nor I can handle this weight alone–understanding that is key.  At most, our bodies can only withstand 12 kN. Therefore, we must remember to build our anchors, as a benchmark, double what our bodies can withstand, 25 kN.

Protecting ourselves:  In order to protect ourselves from all of the forces generated in rock climbing, we can first think about how friction is added to the system. As the climber climbs up on one side of the rope, friction is generated from the rope passing through the carabiners.  Additional friction is generated by the belay device and the belayer. When used properly, the belay device creates friction by looping the rope under the device.

rock protection

The second way we protect ourselves from the forces created in rock climbing is by using “protection” or  nuts, hexes, tri-cams, cams, and naturals (trees and boulders). Each of these has its own kN value and we want the value to add up to at least 25 kN.. To find the value, look on the piece of gear or make note when you purchase (cord and webbing). This is the amount of kilonewtons that the piece of gear will hold, if placed correctly. Remember though, the strength of your gear is only as good as the quality of your placement.

These are  just a few considerations you need to know before building anchors and climbing systems.  If this is confusing or you want to learn more, join us for a two-day anchors course. We discuss this topic and many other anchoring principles and considerations. After all, it’s your life at stake!

Visit Here for additional details.